This is demo content, written to test the reading experience and publishing infrastructure. It sketches an article’s shape; it is not a researched explanation or a production implementation guide.
Start with the interface
For a software engineer, an interface is often a useful place to begin. What goes in? What comes out? Which assumptions belong to your application, and which belong to the system behind the interface?
The eventual article will develop a mental model using familiar application boundaries. Here, context is an illustrative name, not a complete specification.
Trace one small example
This fictional adapter makes the input and output boundary visible. A finished article will use a verified API and document its error behavior.
// Illustrative pseudocode — not a real SDK.
type ExampleInput = { context: string; question: string };

async function explain(input: ExampleInput): Promise<string> {
  const result = await fictionalModel.generate({
    instructions: 'Explain the idea in plain language.',
    context: input.context,
    prompt: input.question,
  });

  return result.text;
}
The questions we would investigate include:
- Which inputs should the application validate?
- What does a successful response actually guarantee?
- Where should timeouts and failures be handled?
- How will we know whether the result is useful?
Application → Input → Model interface → Output
Separate the questions
A comparison table is useful when several concerns look similar at first glance. These entries are editorial prompts for a future article.
| Concern | Question to investigate | Application connection |
|---|---|---|
| Inputs | What information is provided? | Request validation |
| Outputs | What shape should we expect? | Response contracts |
| Failures | What can go wrong? | Retries and timeouts |
| Quality | Is the result useful? | Evaluation and feedback |
A useful explanation makes the system easier to reason about, including the parts that remain uncertain.
Put the assumptions in writing
The full article will distinguish tested behavior from a simplifying analogy. It will include references, reproducible examples, and explicit limitations where they matter.
Application contract: what our code expects.
System behavior: what we must verify before relying on that contract.
Build something small
The next step is a deliberately limited experiment. Keep a small set of inputs, record the outputs, and inspect the result before adding more moving parts.
- Define a question the experiment should answer.
- Write down the expected response shape.
- Include an example that should fail.
- Review the observations before changing the design.
This section is a placeholder for a working implementation and its verification. Read more about the publication’s approach on the About page, or explore the other demo articles.
A clear interface is a starting point for a better mental model.
Compare example shapes
The examples below are layout fixtures for syntax highlighting and code copying. They do not use a real service or imply any API behavior.
A JavaScript fixture
// Demo-only data with a deliberately long line to test contained scrolling.
const example = {
  label:
    'A long illustrative string for checking horizontal code scrolling on a small screen without widening the page itself',
  ready: false,
};
console.log(example.label);
A JSON fixture
{
  "demo": true,
  "label": "Layout preview",
  "items": ["first", "second"]
}
A shell fixture
# Local publication checks, shown here as a code-layout example.
pnpm lint
pnpm typecheck
pnpm test
pnpm build
Plain text, with no highlighting required
Example input → placeholder adapter → example output
This line exists to test plain text rendering and copying.
Keep notes in context
These callout variants use the same quiet editorial language. Their labels distinguish the purpose without requiring a different color for every message.
Nested lists should remain readable:
- Review the sample input.
- Check its label.
- Review the nested examples.
- Include an intentionally long example.
- Review the sample output.
- Record what is visible.
- Check the presentation on a small screen.
Look at the whole boundary
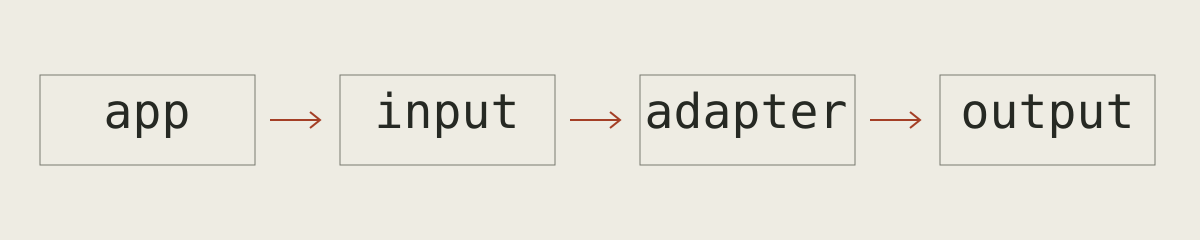
This wide figure is a layout fixture. It names the same illustrative application boundary used earlier, without describing model internals.
Check the edge cases
The repeated headings below deliberately exercise unique anchor generation. The TOC should link to both sections correctly, including the suffix on the second anchor.
Repeated example
This is the first subheading fixture. A reference to the Next.js documentation exercises an external prose link; our About page exercises internal navigation.
Repeated example
This is the second subheading fixture. Strong text, emphasis, and inline code should all remain distinct.
Check the edge cases
This repeated level-two heading verifies that the second TOC link reaches this section, rather than the first. The article remains demo content, ready to be replaced with researched editorial work.